How to Decorate the Perfect Kids’ Room
Even though decorating a kids' room is a fun activity, it can present a challenge too. If we want to create a great-looking, functional and safe space for our children, we have to take one important detail into account: We're not doing this just for us—the kids have to like it too! Confused? Don’t worry, we have some wonderfully helpful advice for you. Now let's design the perfect little room!
A COMFY BED FOR SWEET DREAMS
Do you ever wonder why all the children’s beds you see on Pinterest look so good? Are you hoping to get similar results? We’ll let you in on a little secret: it’s all about the careful selection of colours, patterns and textures. This way, a bed of any size and shape can transform into a cosy, delightful dreamland. Just follow these three easy steps.

STEP 1: Choose simple, single colour bedding without any patterns or textures. At this stage, less is more.
STEP 2: Add a bedsheet in a different, contrasting colour. It can have a pattern if you’re going for a more playful look.
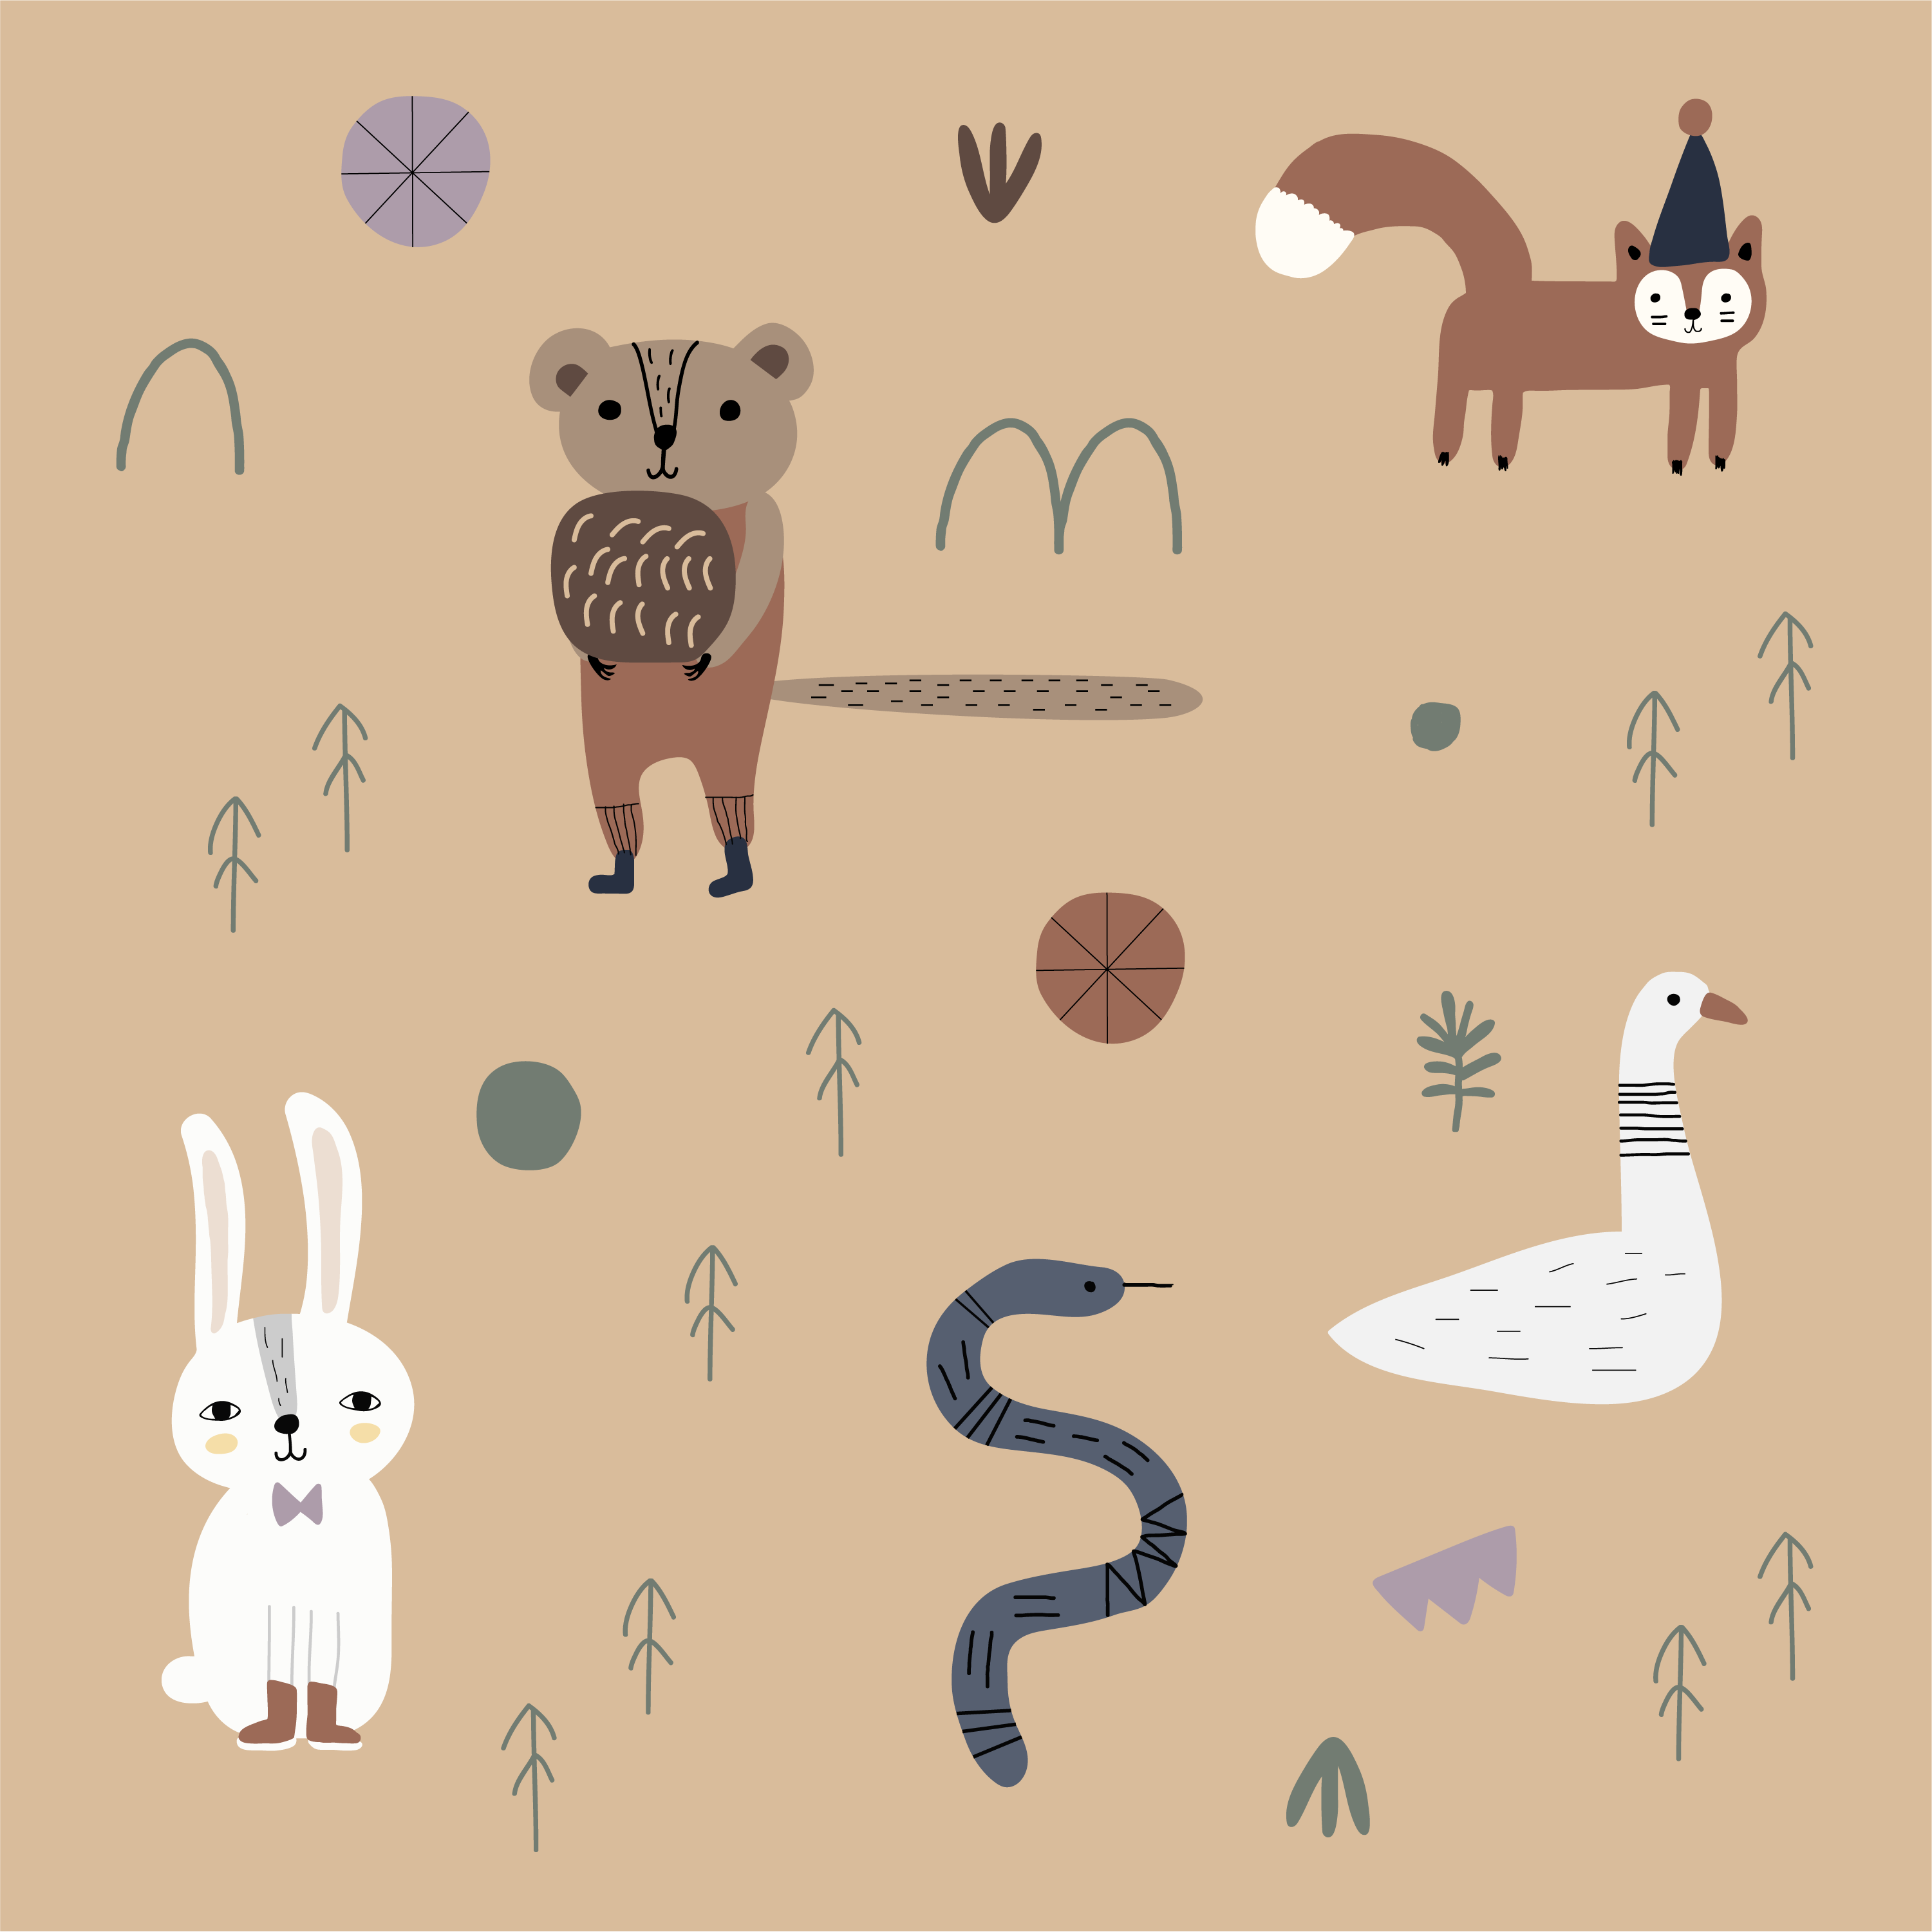
STEP 3: Soft cushions with our Pine Forest characters make the bed even comfier, and they also look cute. They’re great for sleeping, cuddling or just resting. And have you seen our Cuddle Cushion? It's perfect for gently lulling your little sleepy-head into dreams.
When buying bedding, it is very important to choose materials that are eco-friendly and good for the skin. Look for the OEKO-TEX® certificate: it guarantees that the material has been thoroughly tested and doesn’t contain any harmful substances. It also indicates a responsible production process.
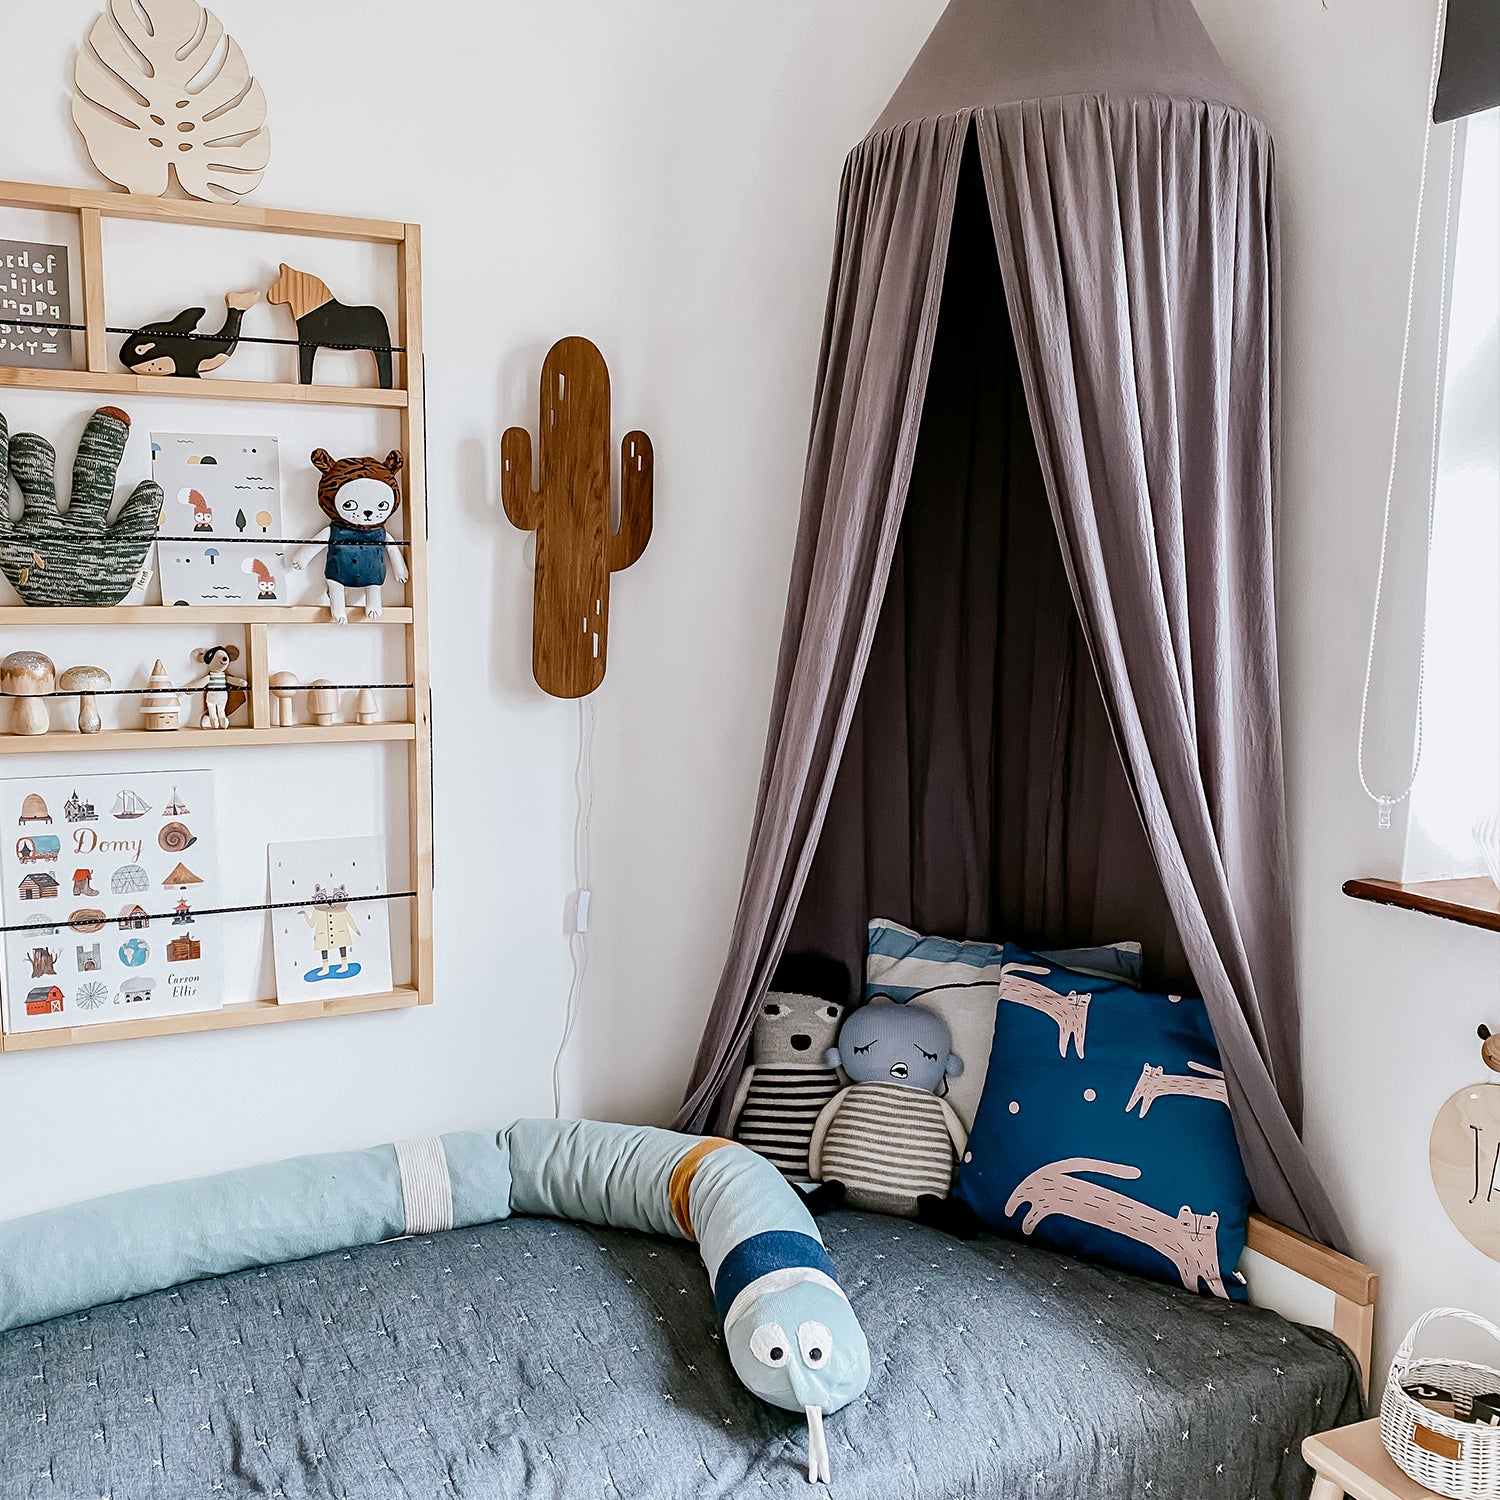
CREATE THE PERFECT GALLERY WALL
Pretty much any wall is a good place to hang your kid’s drawings, family pictures and art prints. So, where do you start? First, gather all the wall decor you want to hang and put it into a pile. If the art isn’t framed yet, decide on the types of frames you’d like to use. You’ll achieve an effect of variety if you pick different frames together with alternating orientations of the artworks (some landscape, some portrait). Put the framed art aside for a bit. It’s now time to get the wall ready.
What do you need besides an impressive selection of art?
HAMMER: big enough to drive nails into a wall | NAILS: select a size that is appropriate for both the size and weight of the items your wish to hang | PENCIL: for drawing and making markings on the wall | PAPER: same size or bigger than the biggest frame | SCISSORS: for cutting the paper | PAINTER'S OR WASHI TAPE: for sticking the paper to the wall | TAPE MEASURE: for measuring the height and distances between frames | SPIRIT LEVEL: to make sure that everything is straight
HOW TO GO ABOUT MAKING A GALLERY WALL?

Don’t go bashing on nails with a hammer just yet. First, take a pencil and start outlining every frame on a piece of paper. Cut out the outlines to make a temporary paper basis for your arrangement. When you are done, its time to determine the starting point of your future gallery. There is an unwritten rule, which states that the best results are achieved by hanging the first art piece at eye-level height.
When you have the height figured out, measure the width of the wall and determined its centre point. Mark it with a pencil. This is where you stick the biggest paper. Follow this by arranging the smaller ones around it. Have some fun and try different variations, until you find the perfect arrangement. Make sure that the distance between each frame is 5 cm (1.97 in); an equal distance between frames enables you to add more art in the future.
Once you’re happy with the arrangement it’s time for the exciting part: hanging your first artwork! Yes, the time has finally come for you to drive the first nail into the wall and hang a picture. Don’t forget to use a spirit level to ensure that it’s hanging straight.
SET UP YOUR SHELF TO TAKE A PERFECT SHELFIE

If you don’t feel like hanging pictures on your wall—or if it’s already adorned by a cute wallpaper—a shelf can be an extremely useful thing. With a few small tricks, even the most ordinary of shelves can become the setting of your best shelfies yet. Before you get started, think about which colours would go best with the wall and the shelf. Then imagine a theme around which you’ll create your display of cuteness.
Follow the “less is more” principle here too. Of course, a lot depends on the size of the shelf, but whatever you do, don’t cram too many things on top of it. Some of the items you can consider putting onto the shelf are framed art prints, books and toys. And don’t forget about your child’s favourite plaything! The rules we used for making a Gallery Wall apply here too: put the biggest object in the middle of the shelf and the smaller ones to its left and right sides. It’s really not hard at all — just use your imagination and have fun!
FIND INSPIRATION ON INSTAGRAM

We suggest to take a look at these beautiful Instagram accounts:
www.instagram.com/agata.kmuk/
www.instagram.com/dearkitchen/
www.instagram.com/more_less_ines/
www.instagram.com/lilihalodecoration/
*
Have you found inspiration in our advice on how to redecorate and refresh your kids’ room? We’d love to see the results!
Post your photos on Instagram
and tag @littleotja or use the #littleotja hashtag.